Project Motivation
The main motivation of this project was just for the challenge. I wanted to do something nobody else has done. It was also a plus to get rid of that tiny whiny fan that comes on the Unmatched.
The theory of execution
This has been on my mind for almost a year now. I had come up with a couple solutions before I landed on this final design I would like to share.
Initial Ideas:
- Custom build a small water block that would be clamped to the side of a case and to press the unmatched against it. (too complicated)
- I noticed how the original cooler clamped I thought it might be possible to mount a m.2 style waterblock on it. However after 3D printing a new bracket to do it, I discovered the PLA plastic would be too weak to stay on.


Original Cooler and M.2 Waterblock
The Final Idea
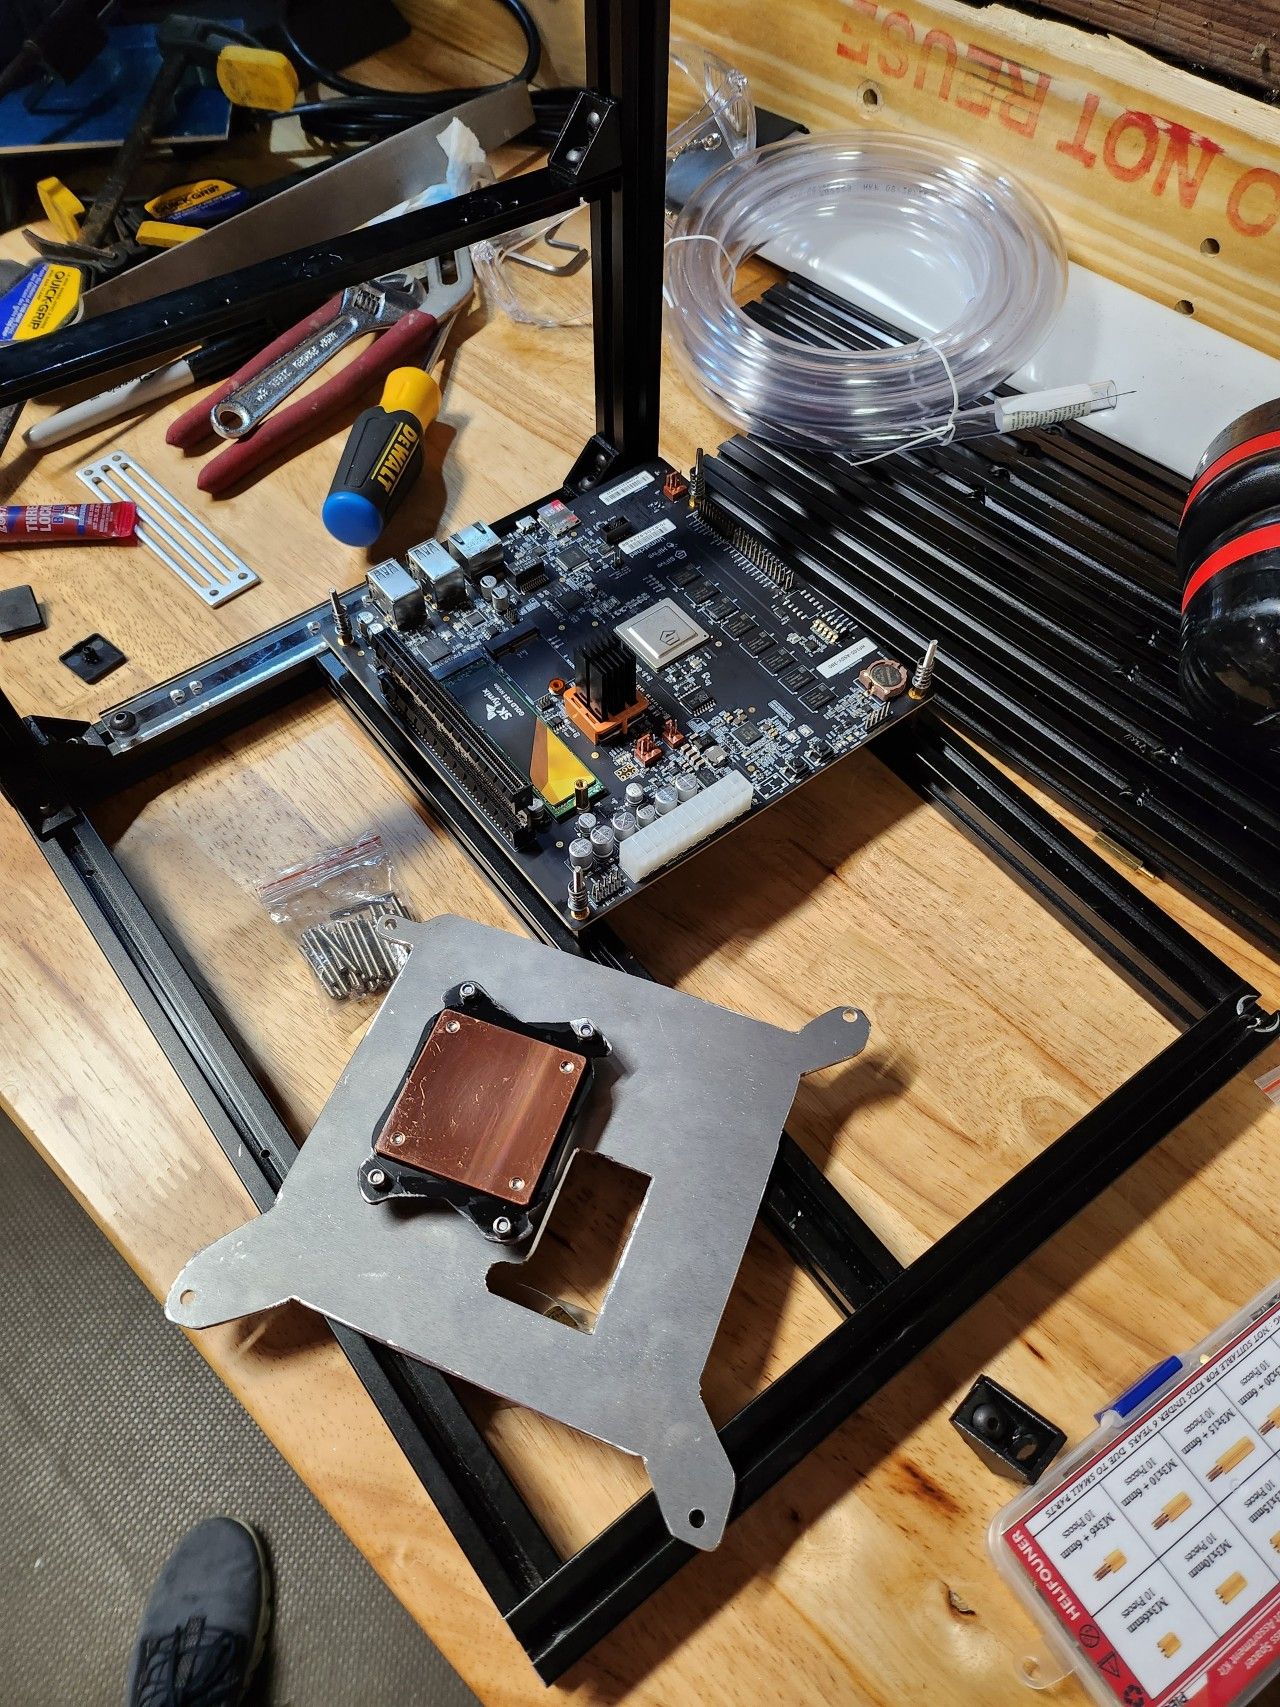
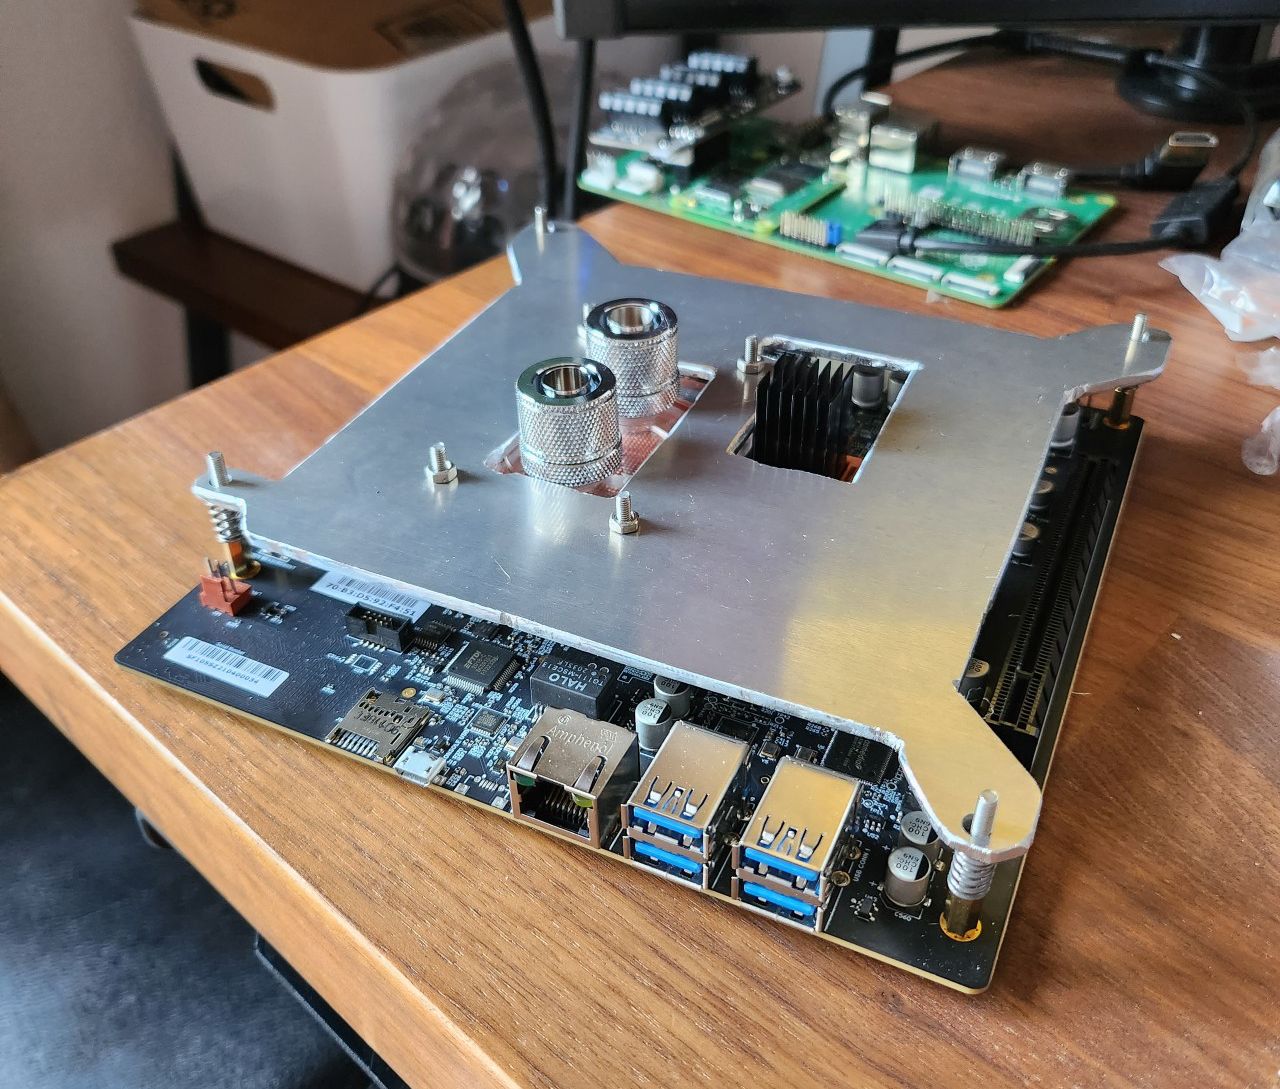
Since the Unmatched does not have mounting holes for a cooler like normal motherboards, I opted to use the standard ATX mounting holes. This would allow me to sandwich the waterblock between a plate and the board to create sufficient mounting pressure for good thermal transfer.

Notice how there are no holes around the CPU
Here is a diagram of my final idea:

Build Pictures/Log
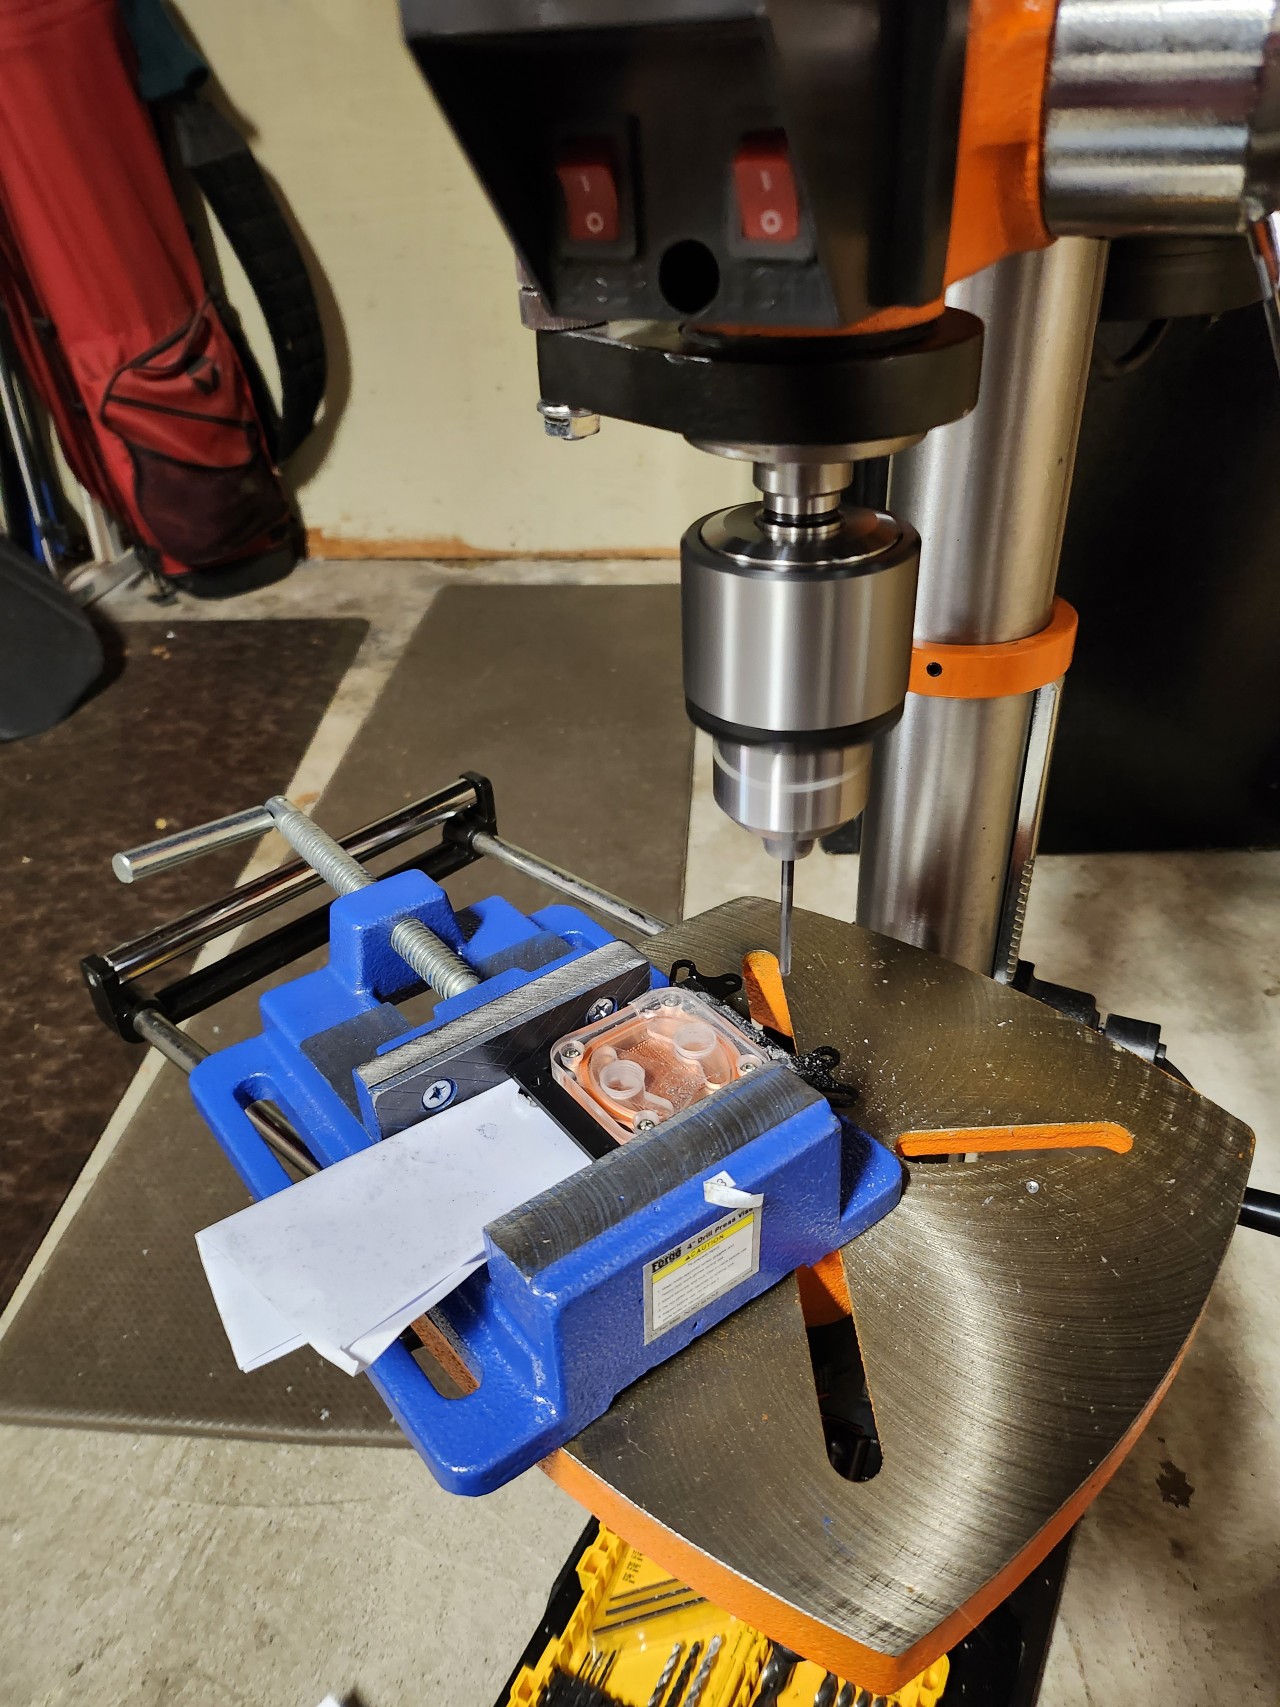
- The initial template was measured and crafted out of paper with a rough outline of the dimensions. This was to determine which components I would have to cut around as they would not clear vertically.

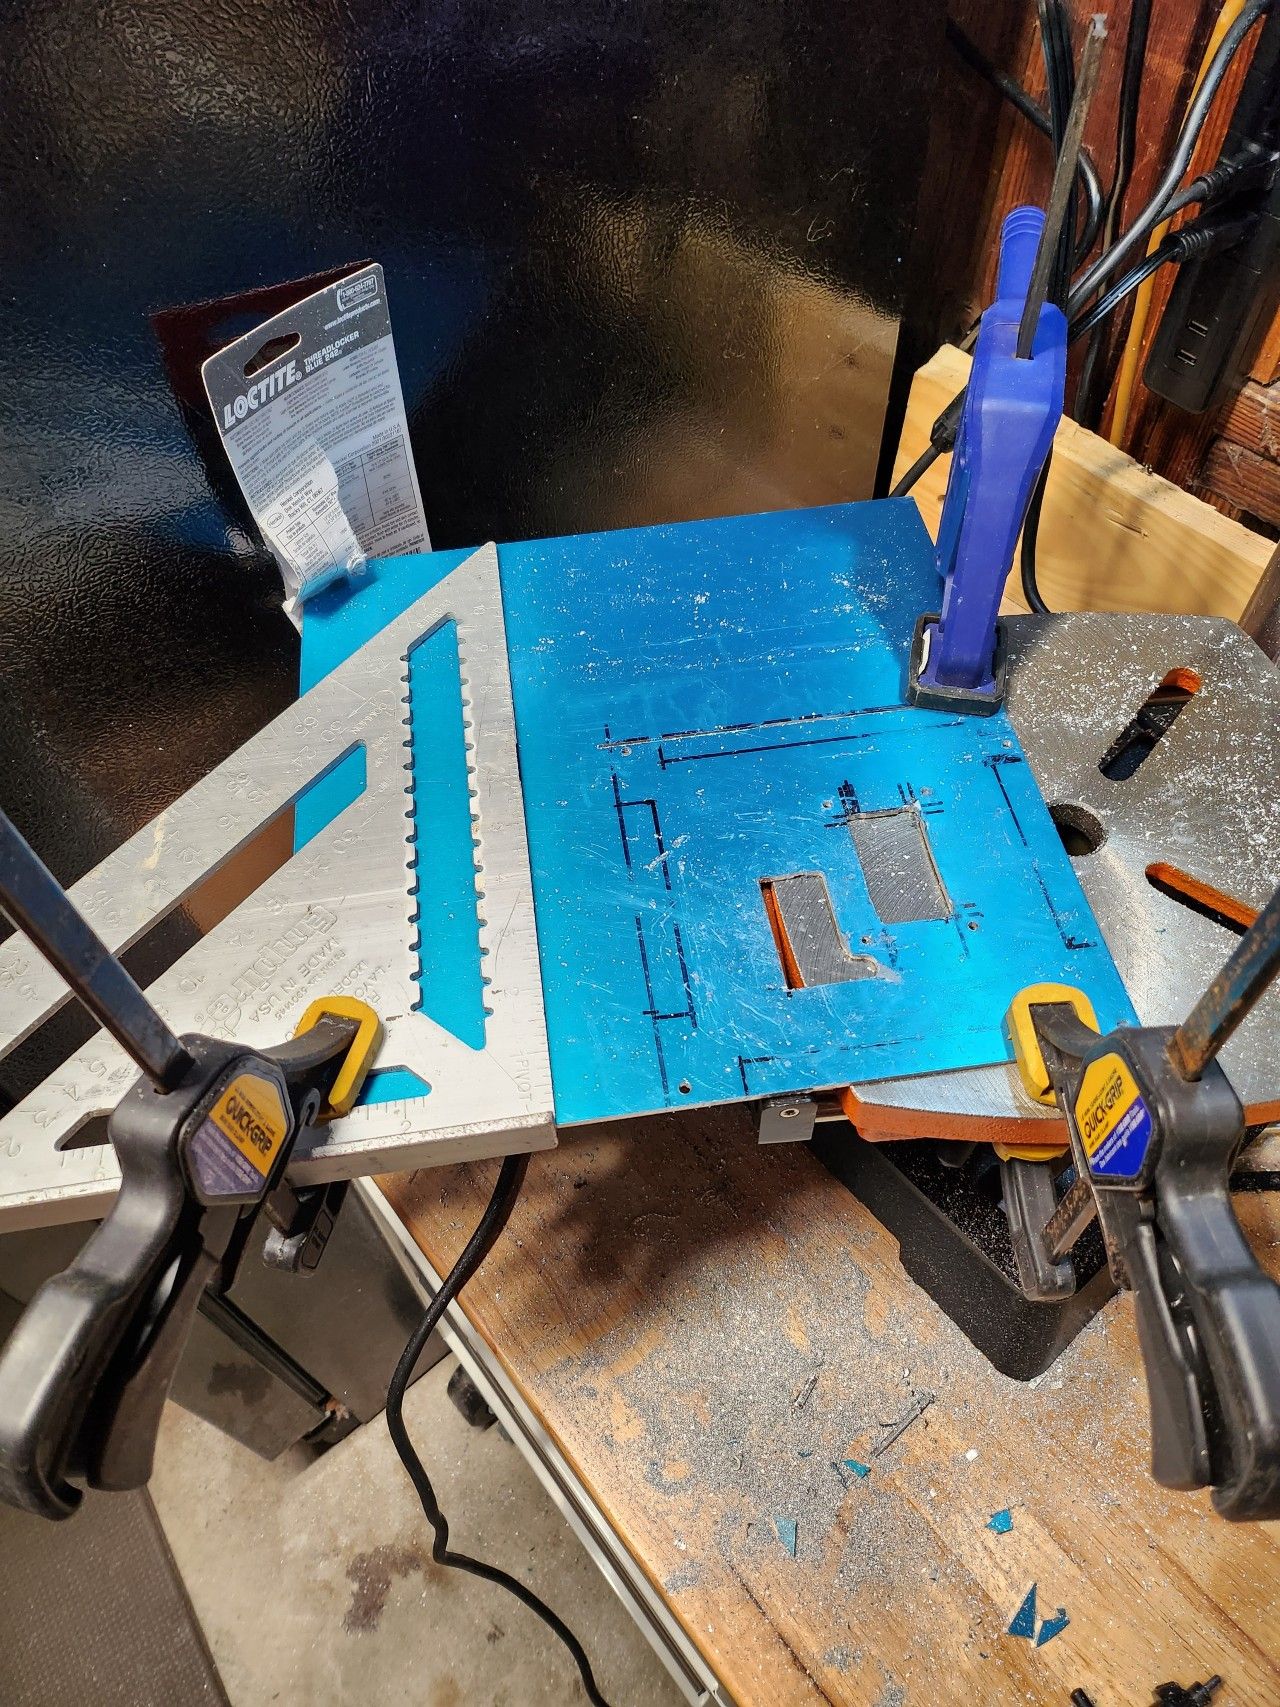
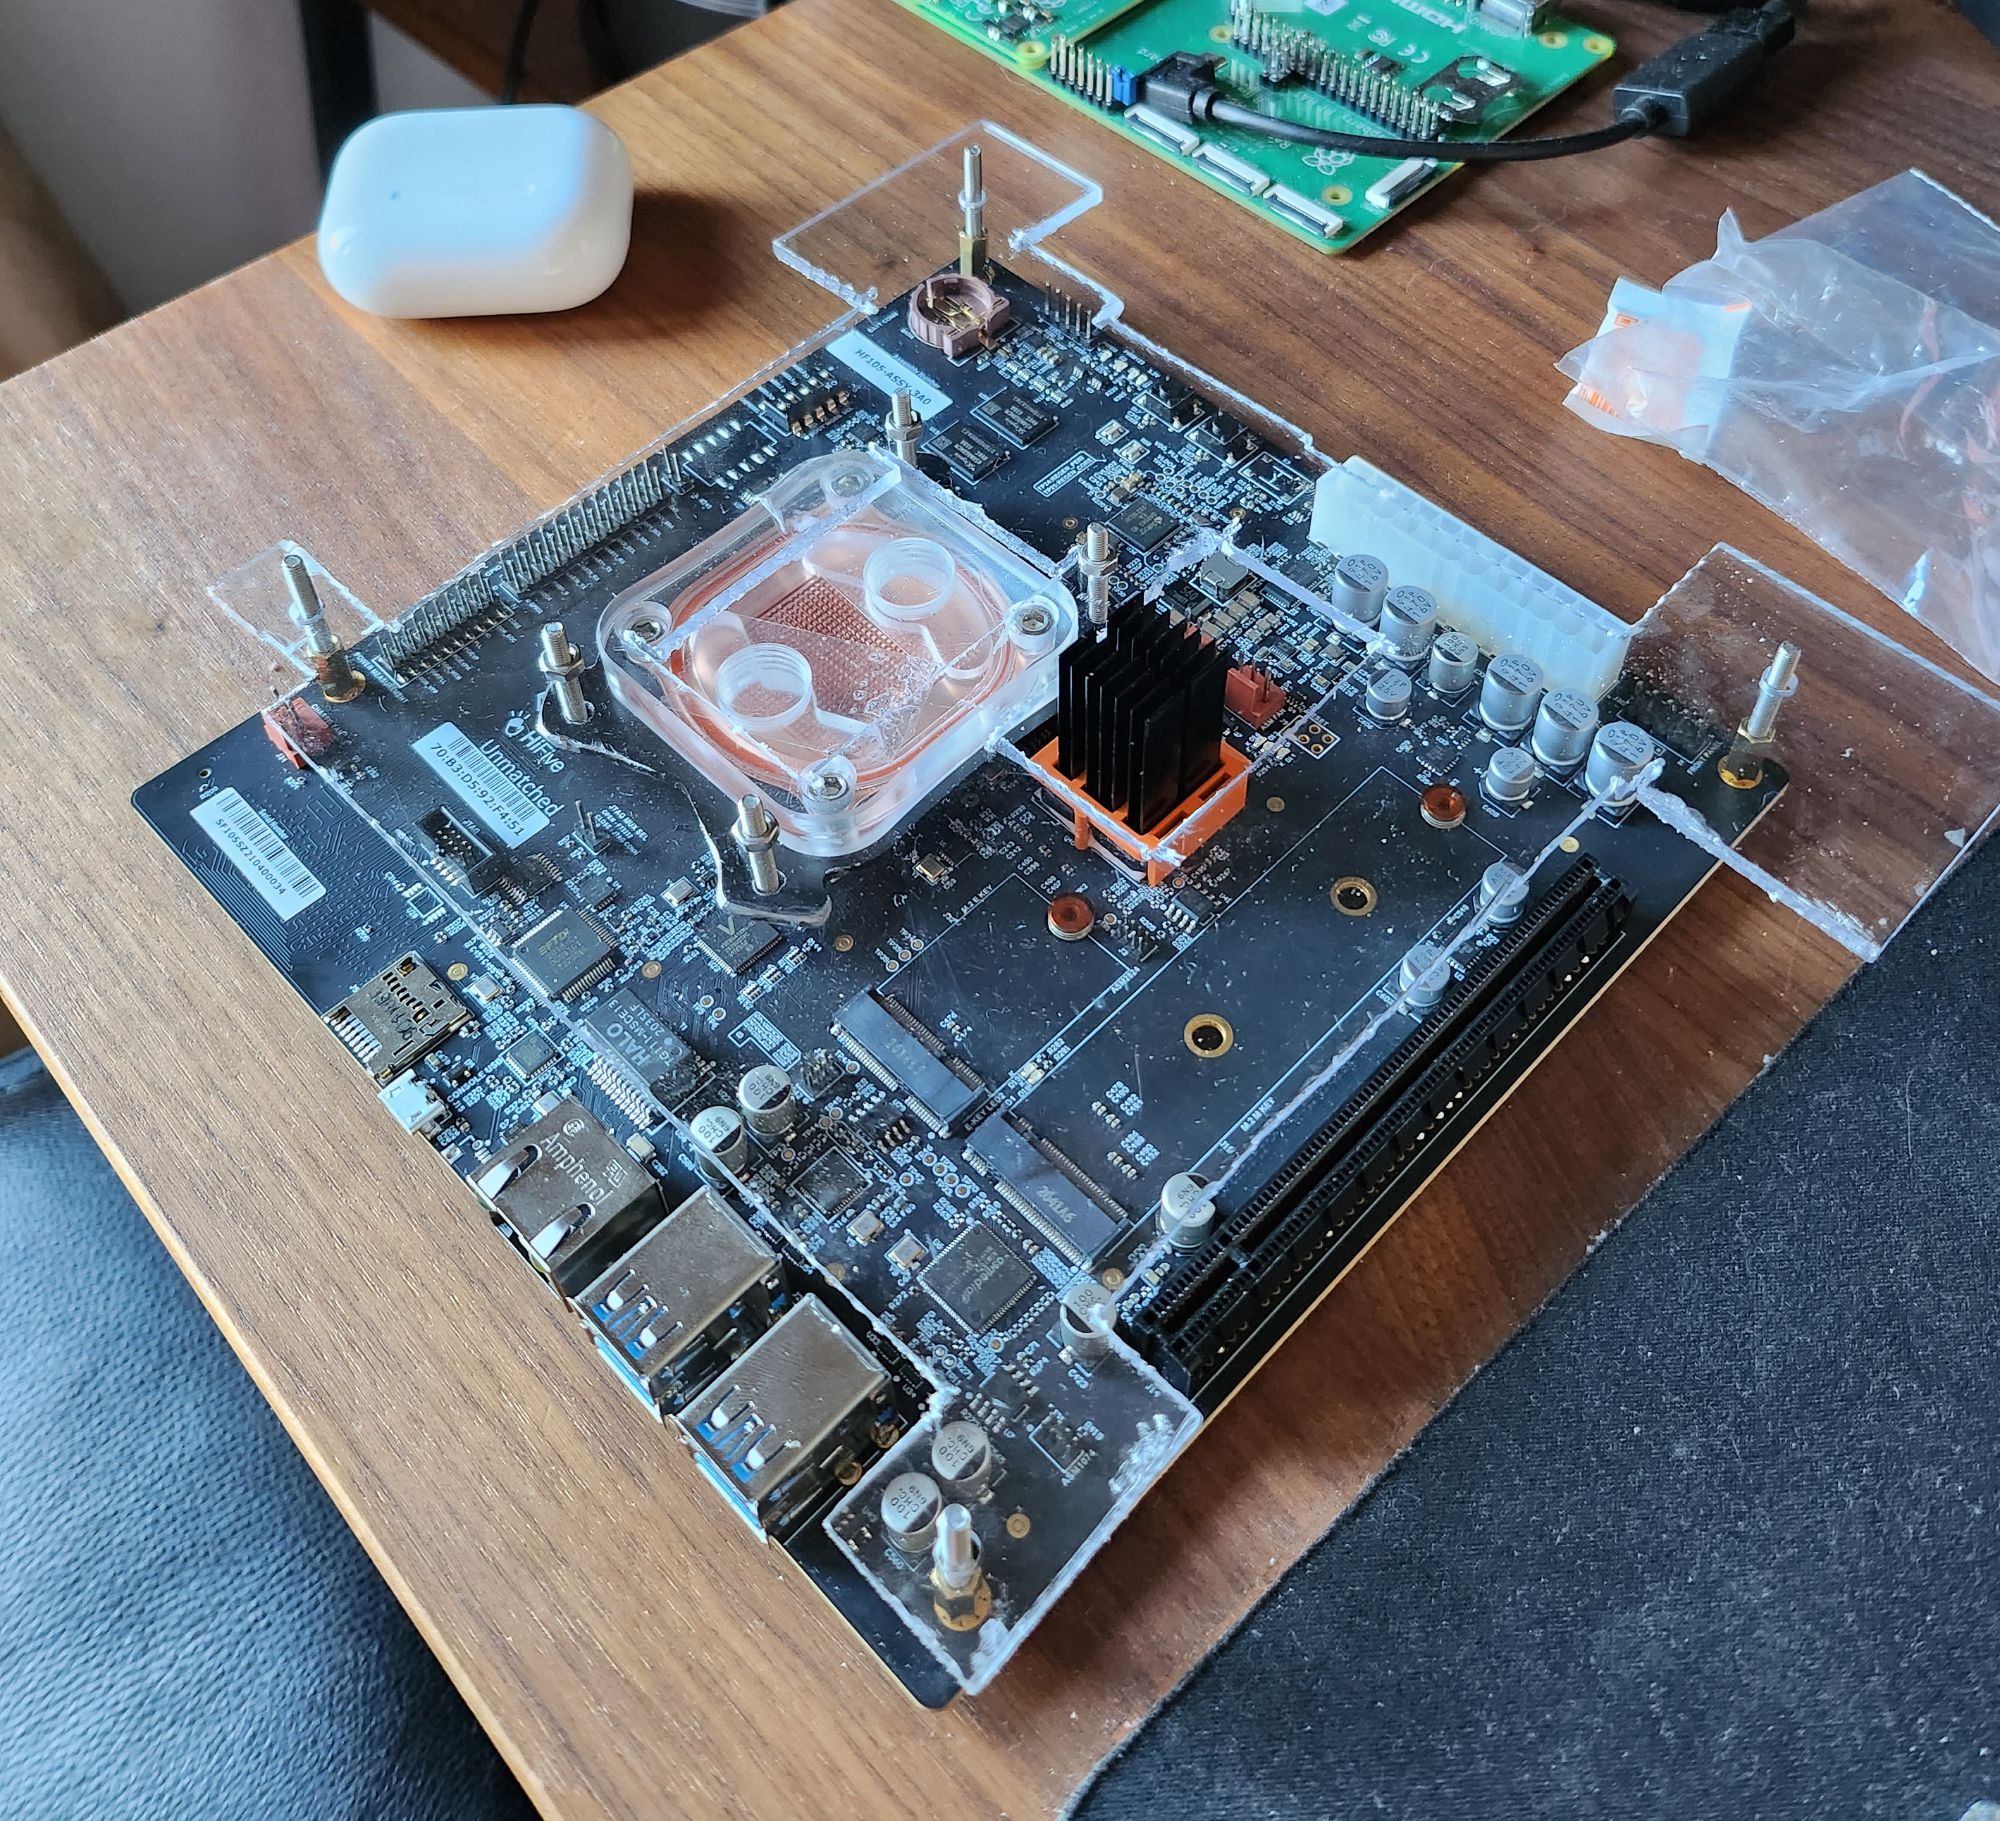
- The next step was to create a more solid template out of an Acrylic sheet to have a rigid piece to test fit the components to.

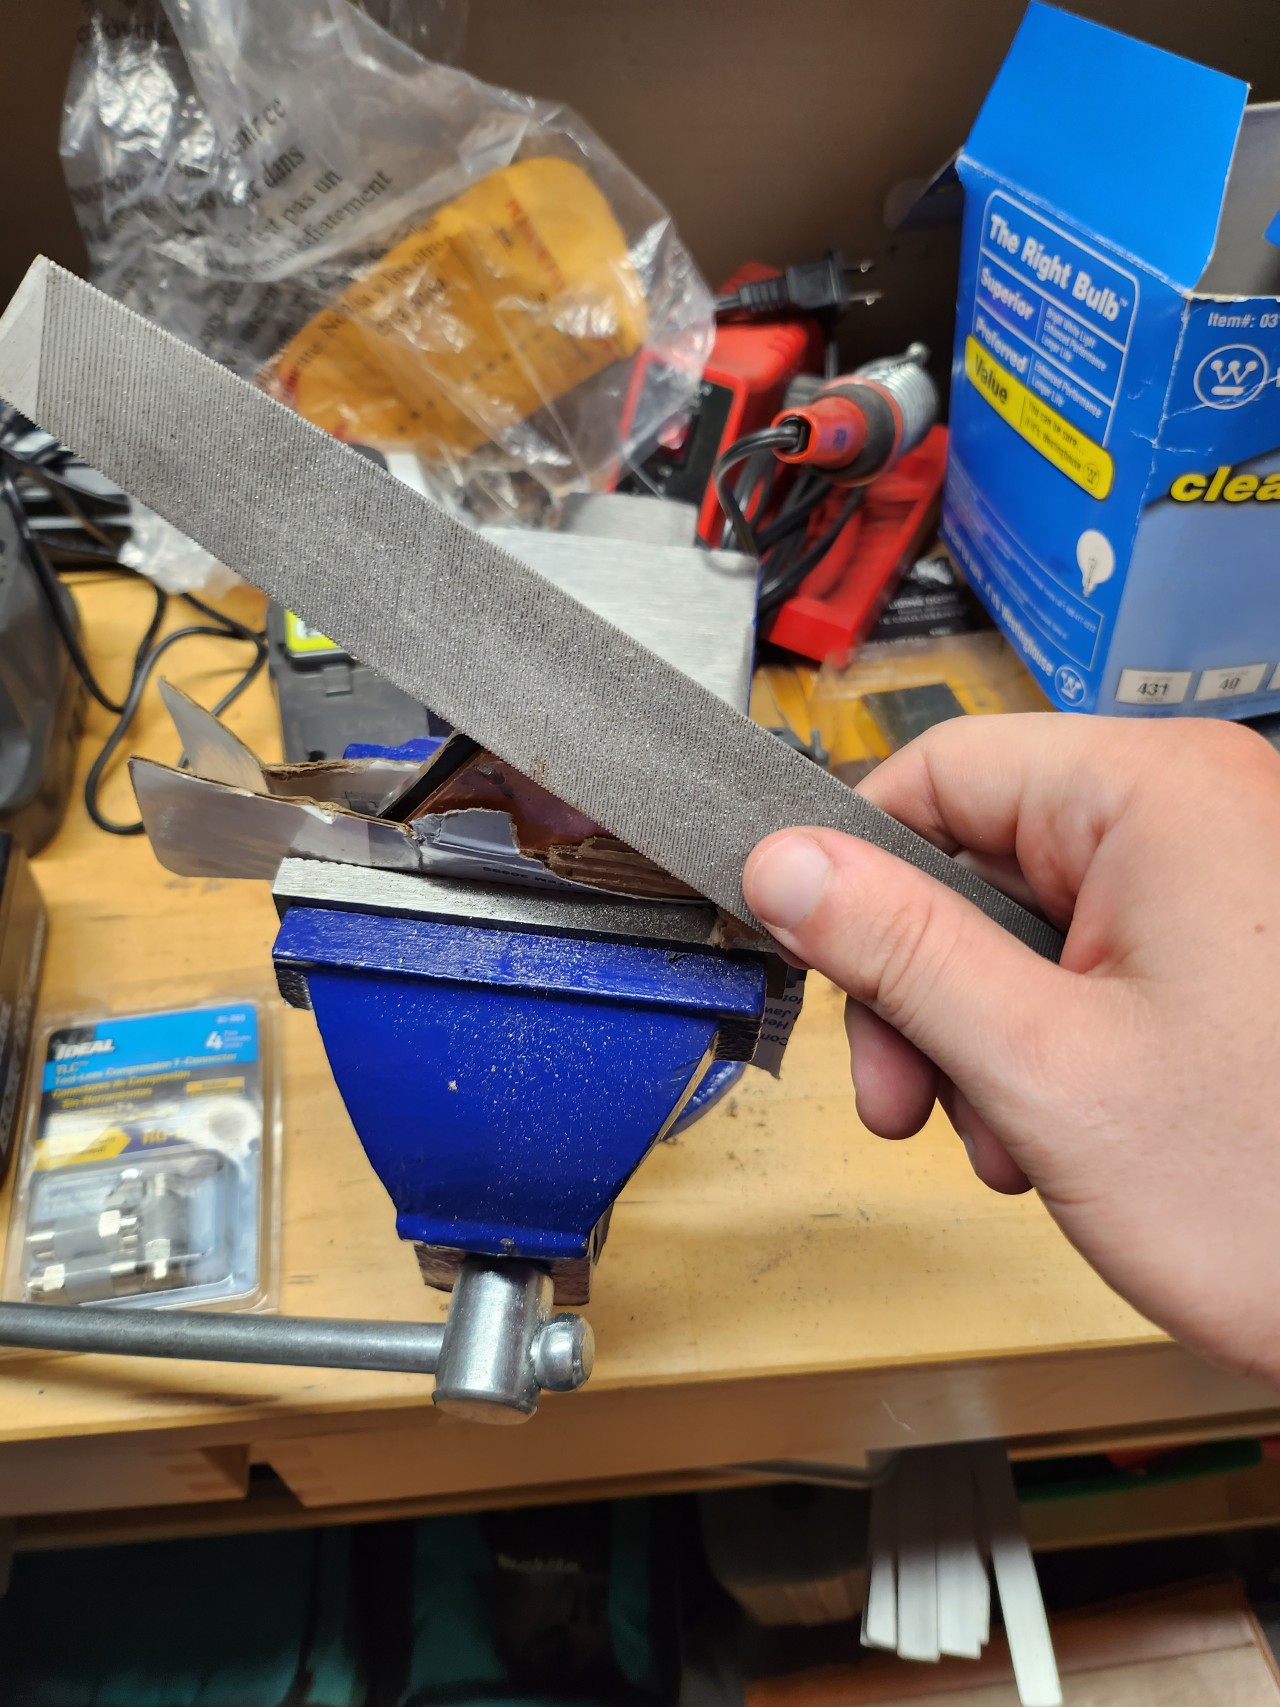
 The next step was to make the metal mounting plate.Now I needed a chassis for the build. This is when I took apart an old mining rig frame and used the aluminium rails to create a custom chassis.
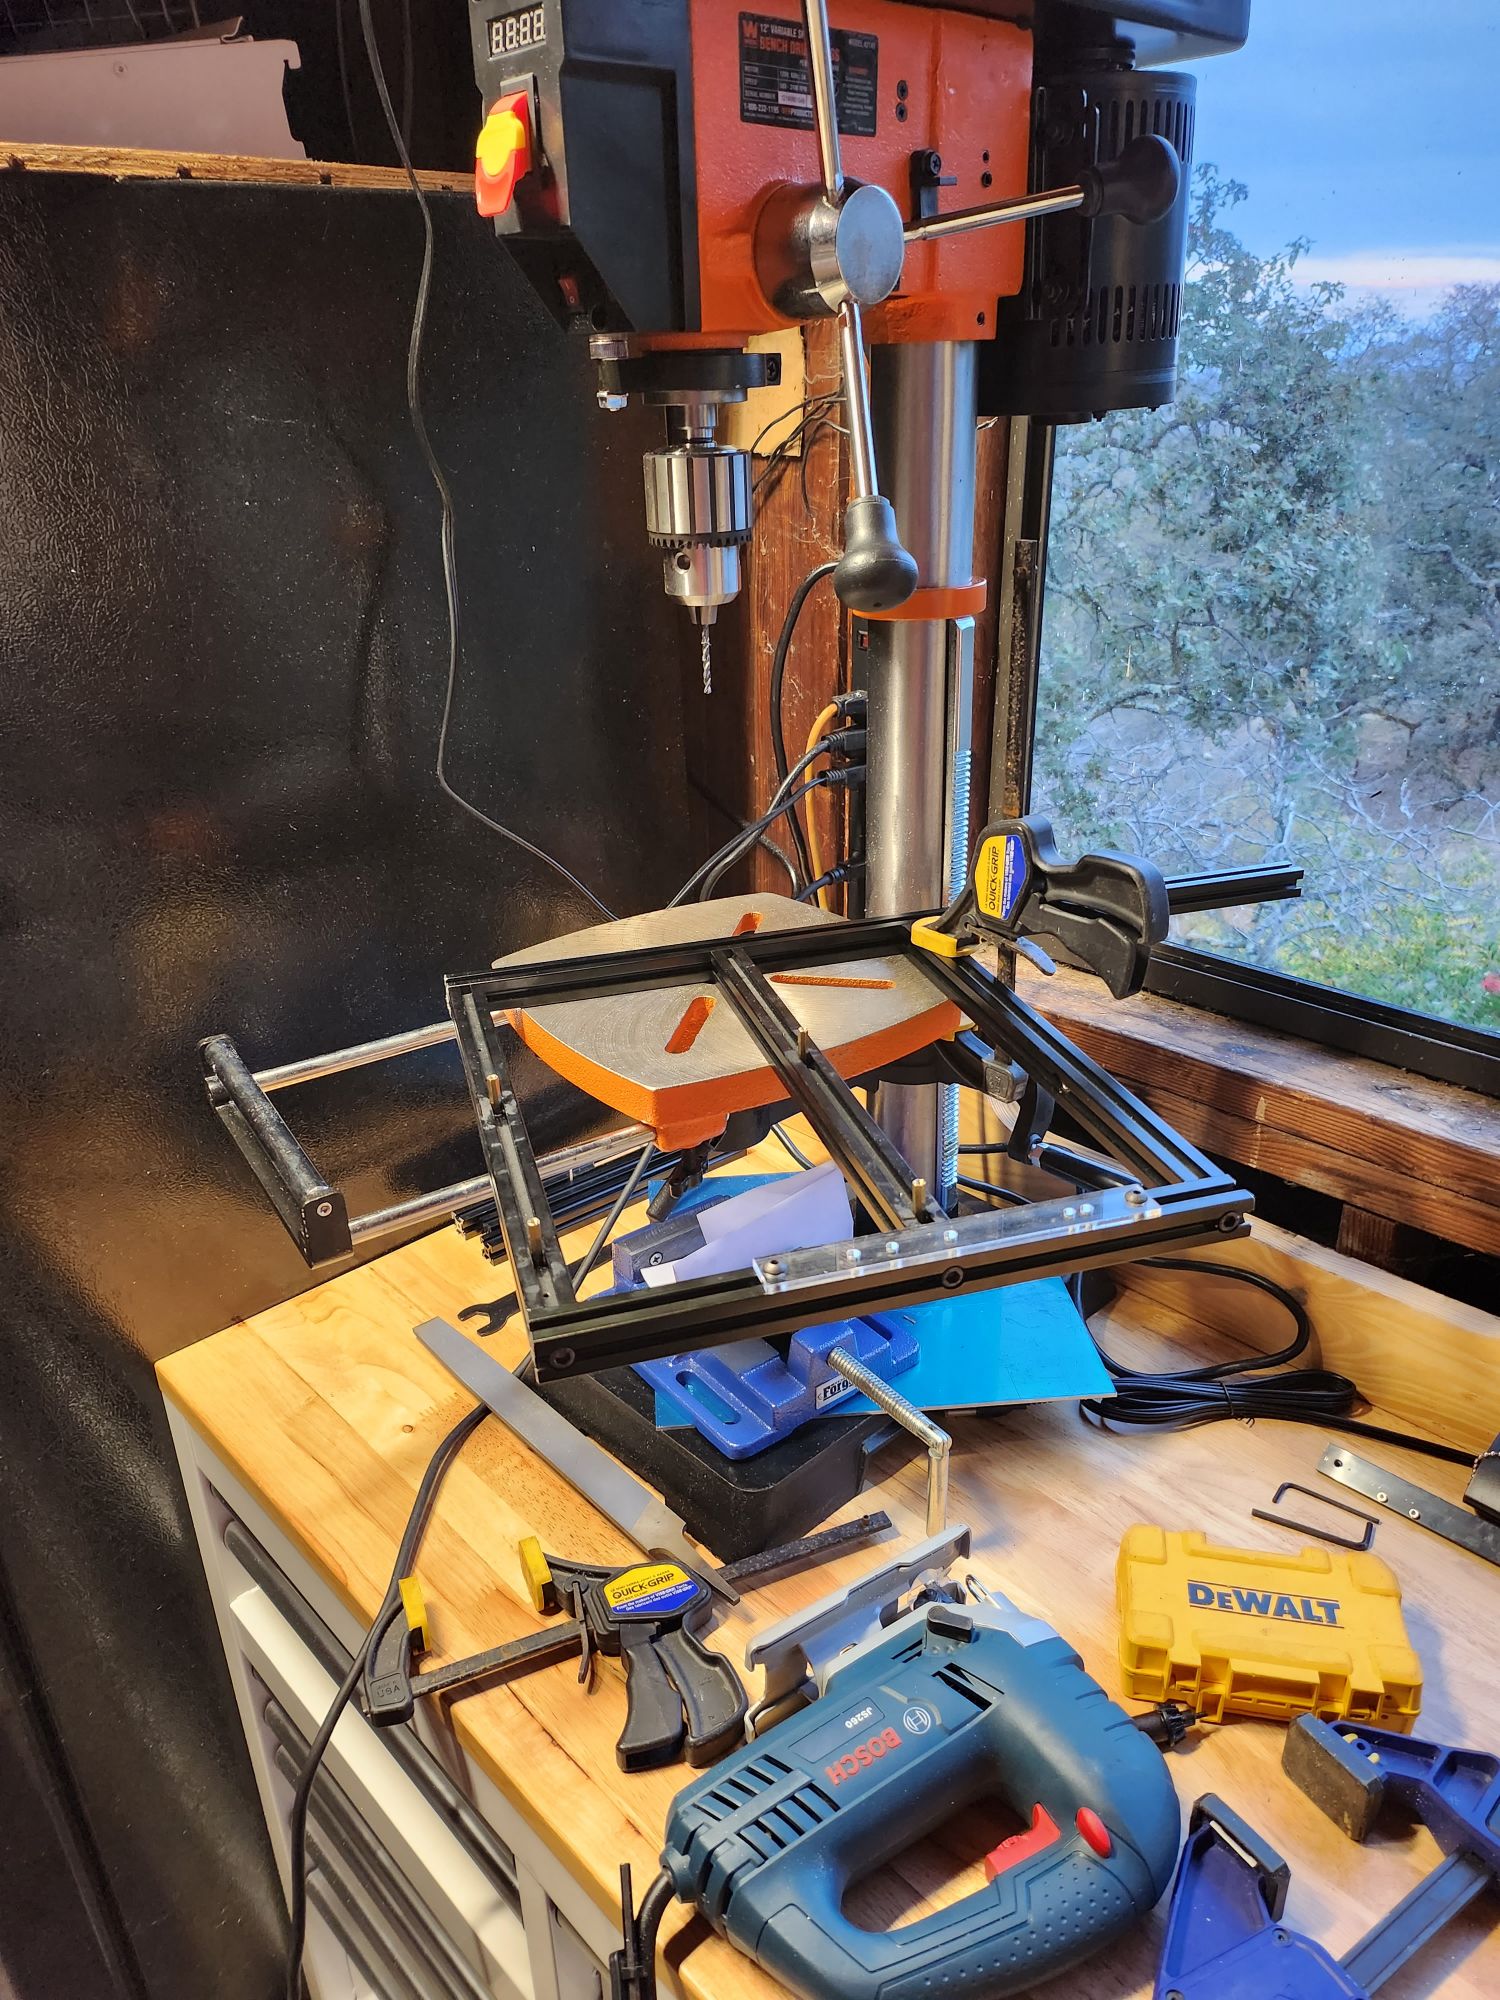

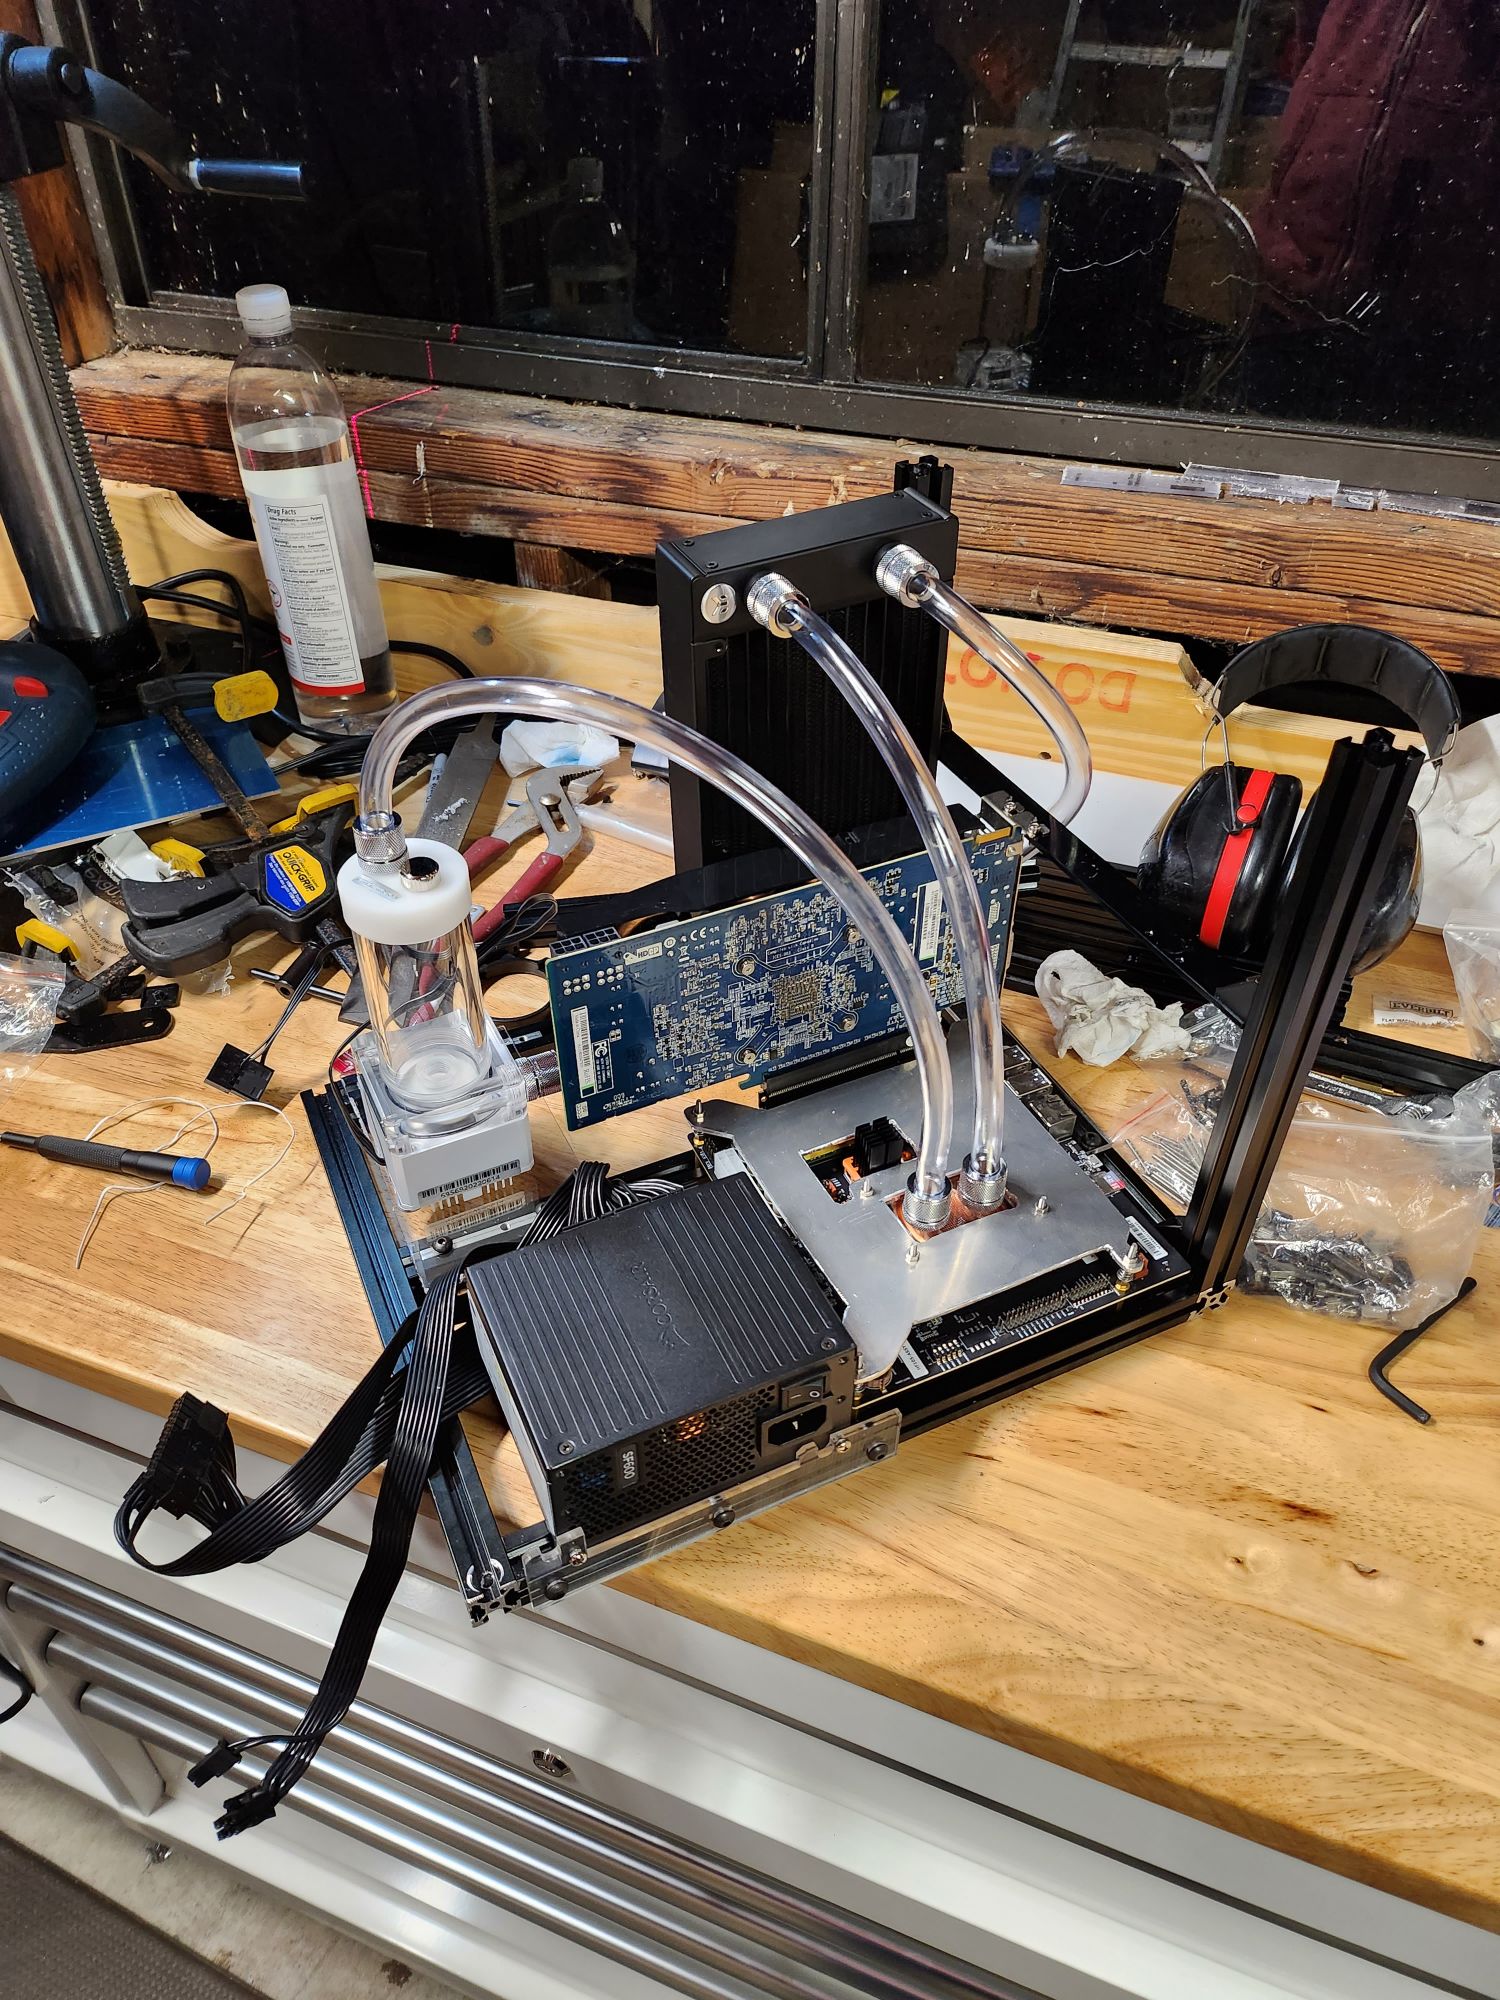
The Final Result
After wiring up the components and filling the loop, I can finally show off the result.


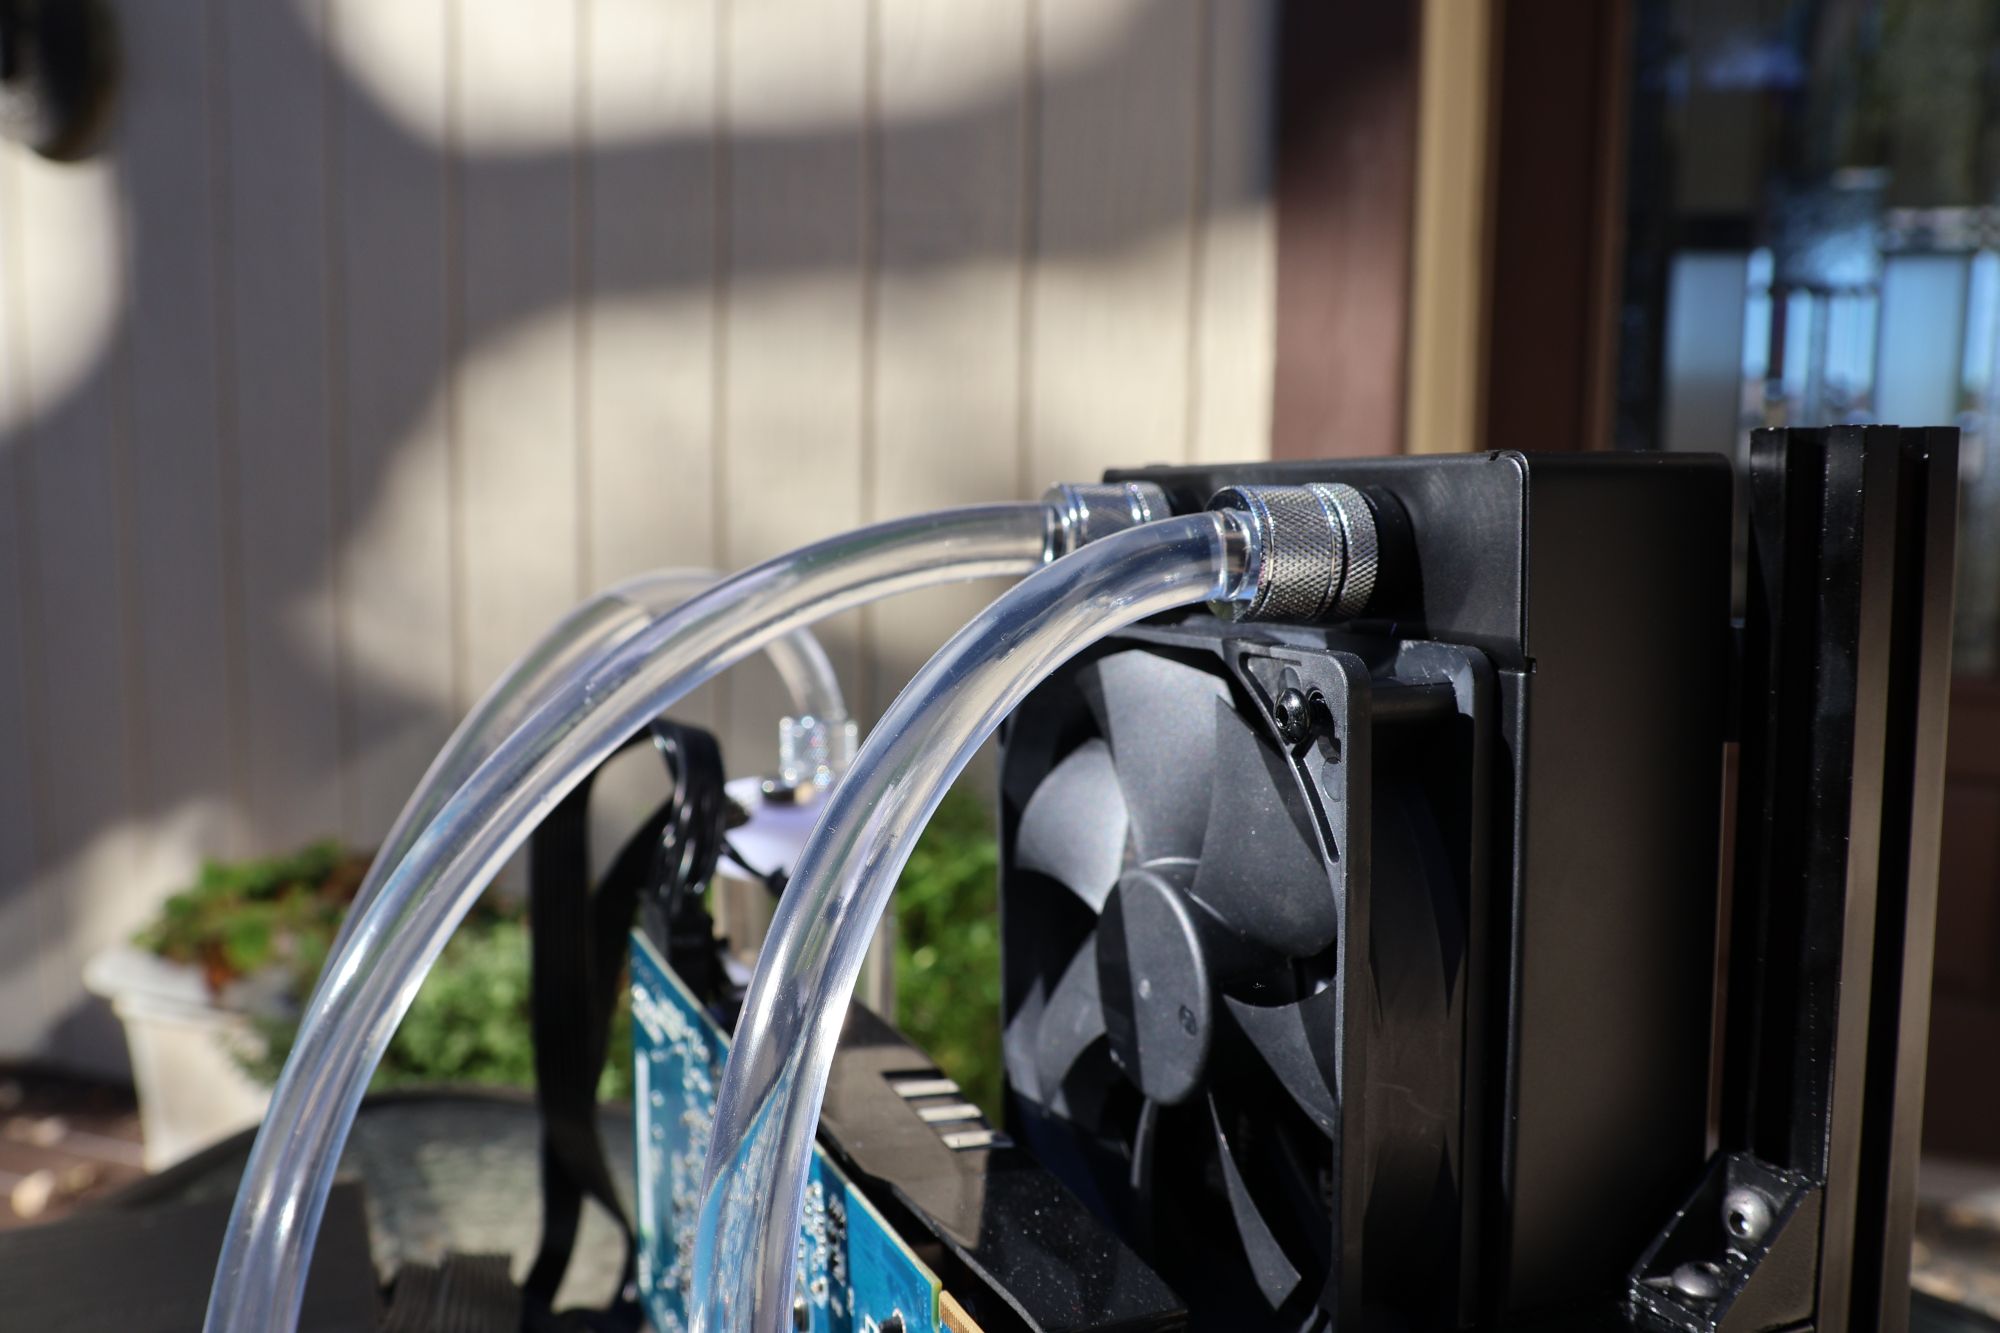


Photo Dump